Gyre SDKDOCS
Tools

As research in the field of image and video editing progresses rapidly, new ideas and tools for manipulating and generating images are continually emerging. Frameworks like ComfyUI, while useful, often don’t cover all aspects comprehensively. Our platform provides a powerful environment not only for end users, such as artists and designers, but also for researchers and developers. It facilitates the quick implementation of innovative UI ideas, benefiting artists and designers by enhancing their creative processes and productivity. These tools are not limited to advanced AI features; they also include traditional image editing tools.
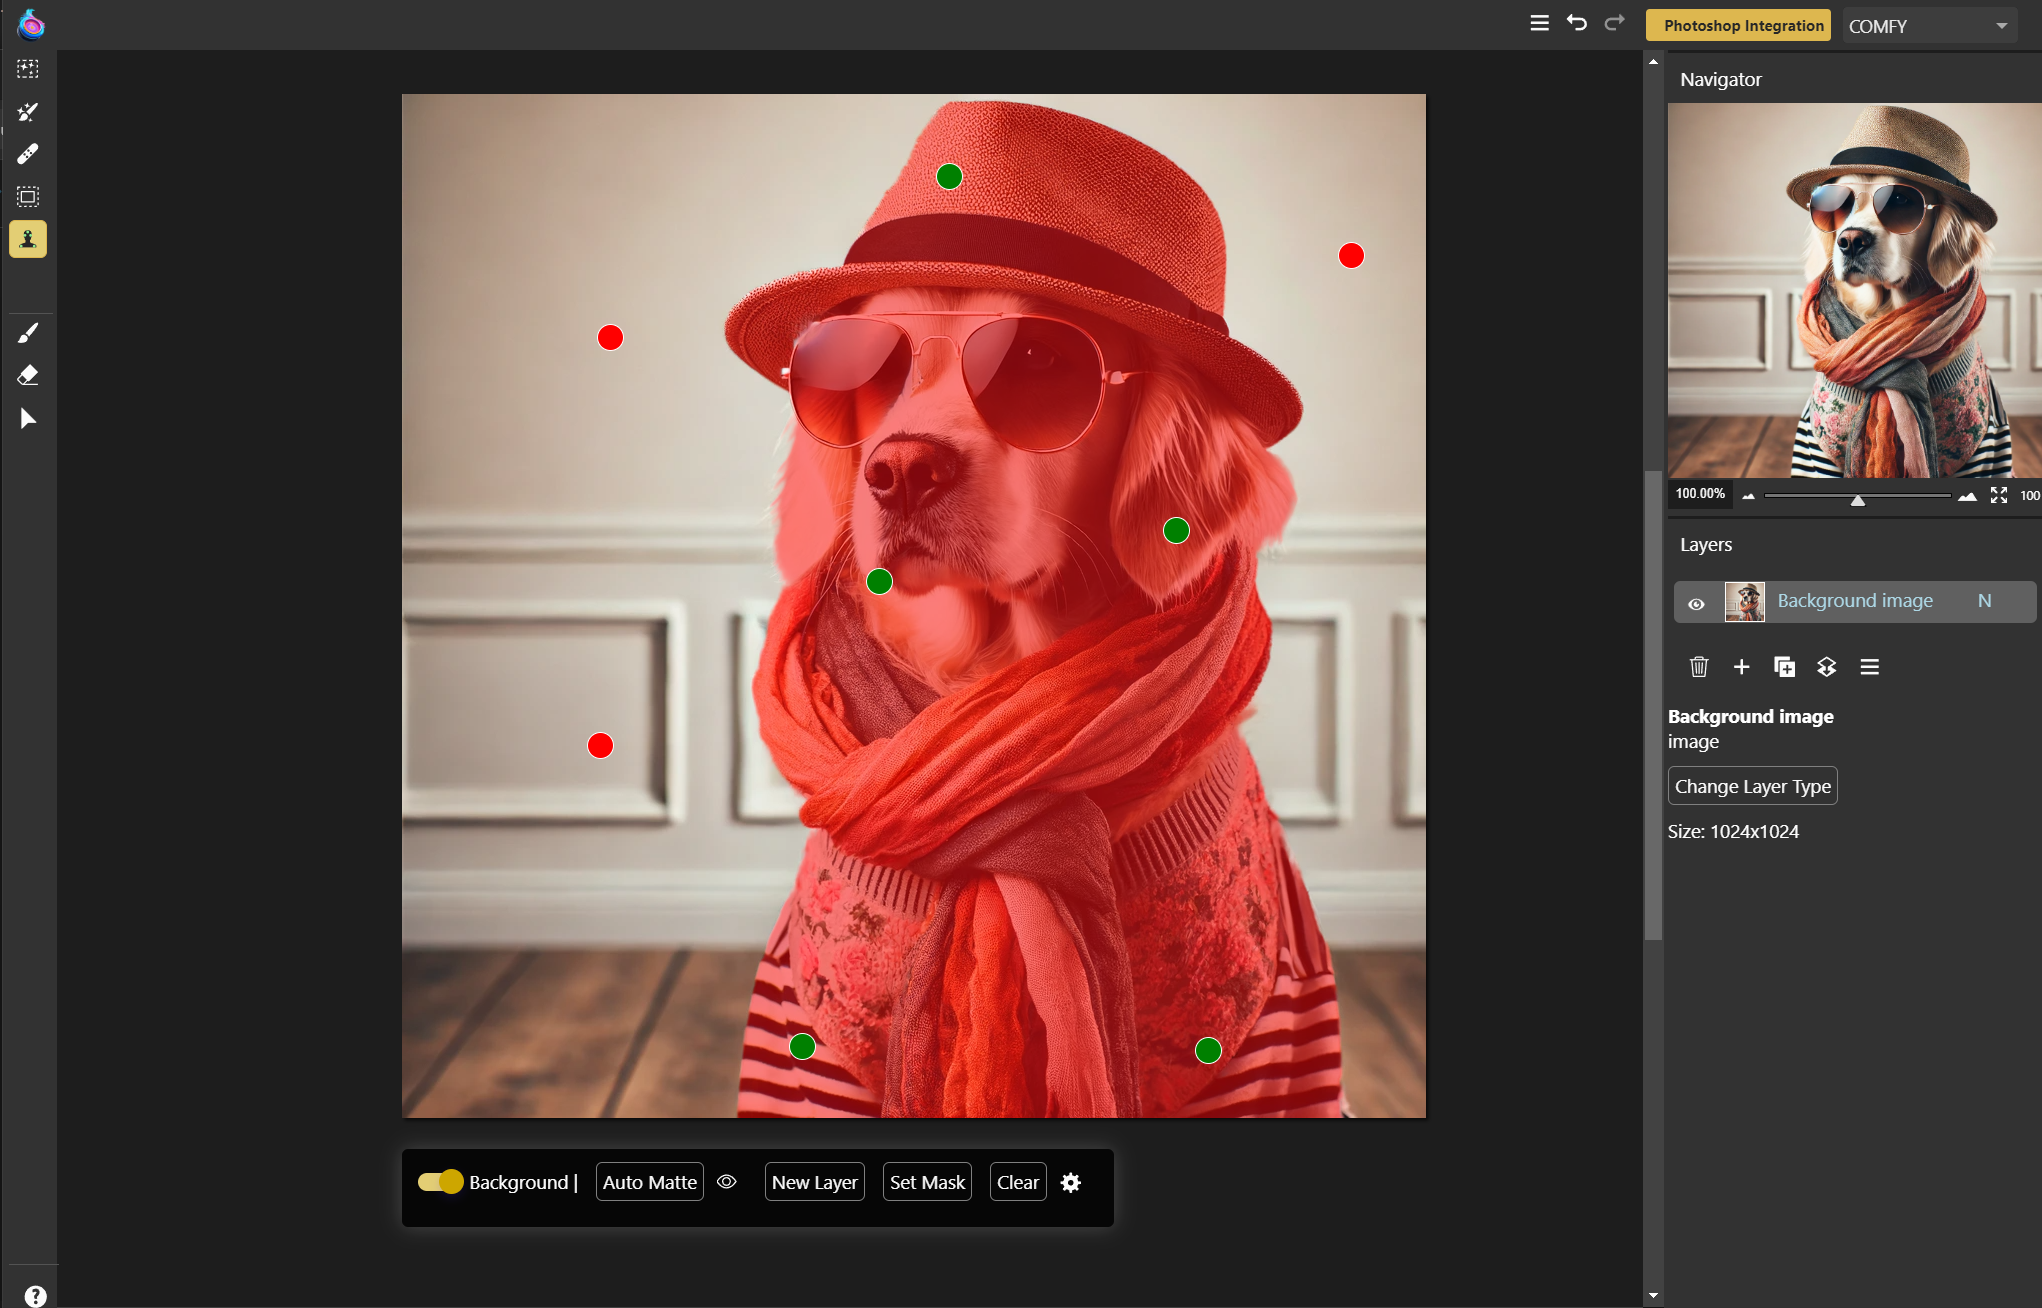
The SAM Auto Matte tool operates in point mode and utilizes ComfyUI workflows as its backend.
Possible Examples of AI Tools
- Interactive Segmentation Tools: Allow users to manually select and refine object boundaries in images.
- Neural Style Transfer Tools: Enable users to apply the style of one image to another, often requiring multiple iterations and adjustments.
- Image-to-Image Translation Tools: Require user input to guide the translation process between different domains, such as sketches to realistic images.
- Face Morphing and Animation Tools: Allow users to create and adjust facial animations and morphing effects interactively.
- Real-Time Image Enhancement Tools: Allow users to apply and tweak enhancements such as super-resolution, denoising, and color correction interactively.
- Virtual Try-On Tools: Require user input to adjust clothing and accessories on virtual avatars based on user preferences and body measurements.
- Interactive Object Removal and Insertion Tools: Let users specify and refine areas for object removal or insertion in images.
Possible Examples of Non-AI Tools Usually Found in Traditional Image Editing Applications
- Selection Tools
- Crop and Slice Tools
- Clone Stamp Tools
- Gradient and Paint Tools
- Blur and Sharpen Tools
- Dodge and Burn Tools
- Drawing and Shape Tools
- Text Tools
- Eyedropper Tool
For supporting development, we offer a lightweight environment with some basic functions like zoom, which is the most challenging part for developing such a tool.
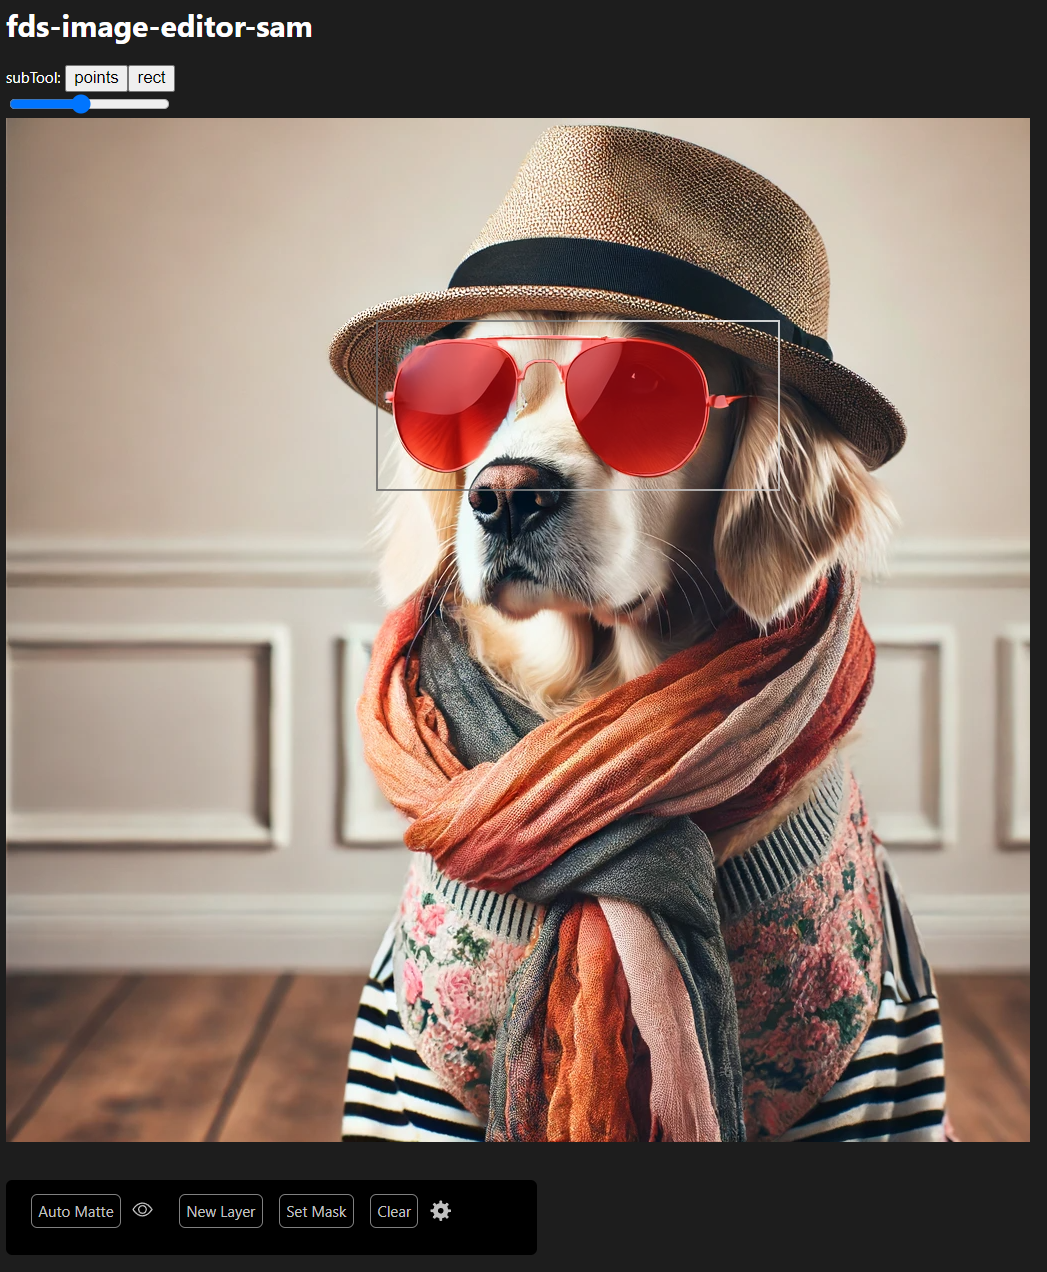
Same tool using rectengular mode and our test environment.
Setting Up a New Tool
The steps are similar to custom UI components, so these are also based on Web Components. For parameter selection, we offer a floating toolbar that is located automatically depending on document size and scroll position screen size. Each tool needs an additional web component for dialog elements of such a toolbar with the suffix -floating-toolbar.
Example
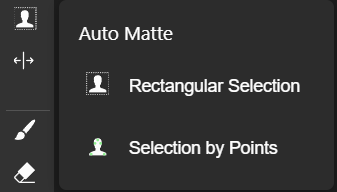
The layer parameter points to an internal data object storing all information of the current tool. Both components are used automatically by selecting a tool in the toolbar. Quite often, such a tool offers different variations, so the main application supports a menu with the sub-tools for switching between the states.
For testing a tool, just use our test environment from our SDK:
The first script activates the connection to a ComfyUI server with workflow management, workflow pre-parser, and execution of any ComfyUI workflows by name.
With the test environment tag, you easily start the test environment with an example image:
Now activate our plugin in the test environment:
document.;
It uses a stripped-down version of the manifest here as well to keep things easy.
To activate the plugin on the test environment canvas, just use:
stage.; // so in this example:
stage.;
Both tool components need to provide a refresh() function which will be automatically called if something has been changed in the main application. This is usually activation of the tool, zoom function, or setting a new sub-tool.
Gyre API
Inside the tool plugin, we provide a helper function for the calculation of mouse coordinates to image coordinates and vice versa. This calculation depends on three factors: the coordinate, the zoom factor, and the device screen ratio.
Example (snippet from refresh function):
canvas is just the canvas object of the Gyre-API here.
In addition to the refresh function, the tool has to provide prepareForSave() and prepareAfterLoad() functions. In a complex gyre file, the current state of each tool is stored as well, so these usually provide a serialized version of toolsLayer without unneeded data.
Manifest
This section provides detailed information about the JSON manifest structure for defining tools in your image editing plugin. The manifest is stored in gyre_entry/gyre_ui_tools.json in plugins array.
JSON Structure
Root Object
- type (string): The type of the plugin. This must be
"tool"for tool-plugins. - tag: The tag name of the main component. The dialog component will have
"-floating-toolbar"added. - js_path: Path to the JS file with both tool components. Paths are defined relative to the Manifest file.
- floatingToolBar (boolean): Specifies if the toolbar should float. Example:
true. - floatingToolBarWidth (number): The width of the floating toolbar. Example:
490. This will overwritten by sub-tool parameter for the toolbar width. - title (string): The title of the plugin. Example:
"Auto Matte". - layerTypes (array): An array of layer types the tool is applicable to. Example:
["image"]. - tools (array): An array of tool objects defining each sub-tool.
- icons (object): An object containing icon definitions.
- refreshOnScroll (boolean): set it to
trueif you want therefresh()called as user scrolls the canvas. This is useful if the tool is working on visible part of canvas only (seecanvas.screenobject in Gyre API).
Tool Object
Each tool object has the following structure:
- name (string): The name of the tool. Example:
"rect". - title (string): The display title of the tool. Example:
"Rectangular Selection". - icon (string): The identifier for the tool’s icon. Example:
"fds-image-editor-sam-rect". - floatingToolBarWidth (number): The width of the floating toolbar for this tool. Example:
440.
Icons Object
The icons object contains key-value pairs where each key is the name of an icon and the value is an object with the following structure:
- body (string): The SVG path data for the icon.
- width (number, optional): The width of the icon. Example:
1024. - height (number, optional): The height of the icon. Example:
1024.
Example
Here is an example of a JSON manifest for image editing tools: